
This tutorial will provide a method for shrinking aluminium sheet into a sculpture form.
Facts about aluminium:
- A range of sheets size
- Lightweight
- Electrical and Thermal Conductivity
- Recyclable
Laser cut

Laser cut machine can provide a high quality and precise cutting technique, the machine can cut on a variety of materials such as plywood, acrylic, and metal.... Simply open the document that you want to print on the computer software and select the material that you are going to print on and click start, the machine will then run itself.
Set up
 X 2
X 2  X 4
X 4After laser cutting the artwork on the plywood panels, place an aluminium sheet between the two boards and screw them together on each of the corners on the plywood.
Simple tools and equipment


The above images refer to the two main tools that are used in this task, they are the Flat Ends mallet (on the Left) and the Radius Ends mallet (on the Right).
Create a water drop shape in a smooth skin


Steps of hand shrinking a water drop shape on a aluminium sheet:
1. Place a radius ends mallet on top of the aluminium sheet
2. Hammer the radius mallet by using a flat ends mallet
3. Keep hammering until the form appears
Tips: Find a mallet/ tool that has a similar shape to the piece of work that you want to shrink


Detail surface

Steps to shrink the small area of this model:
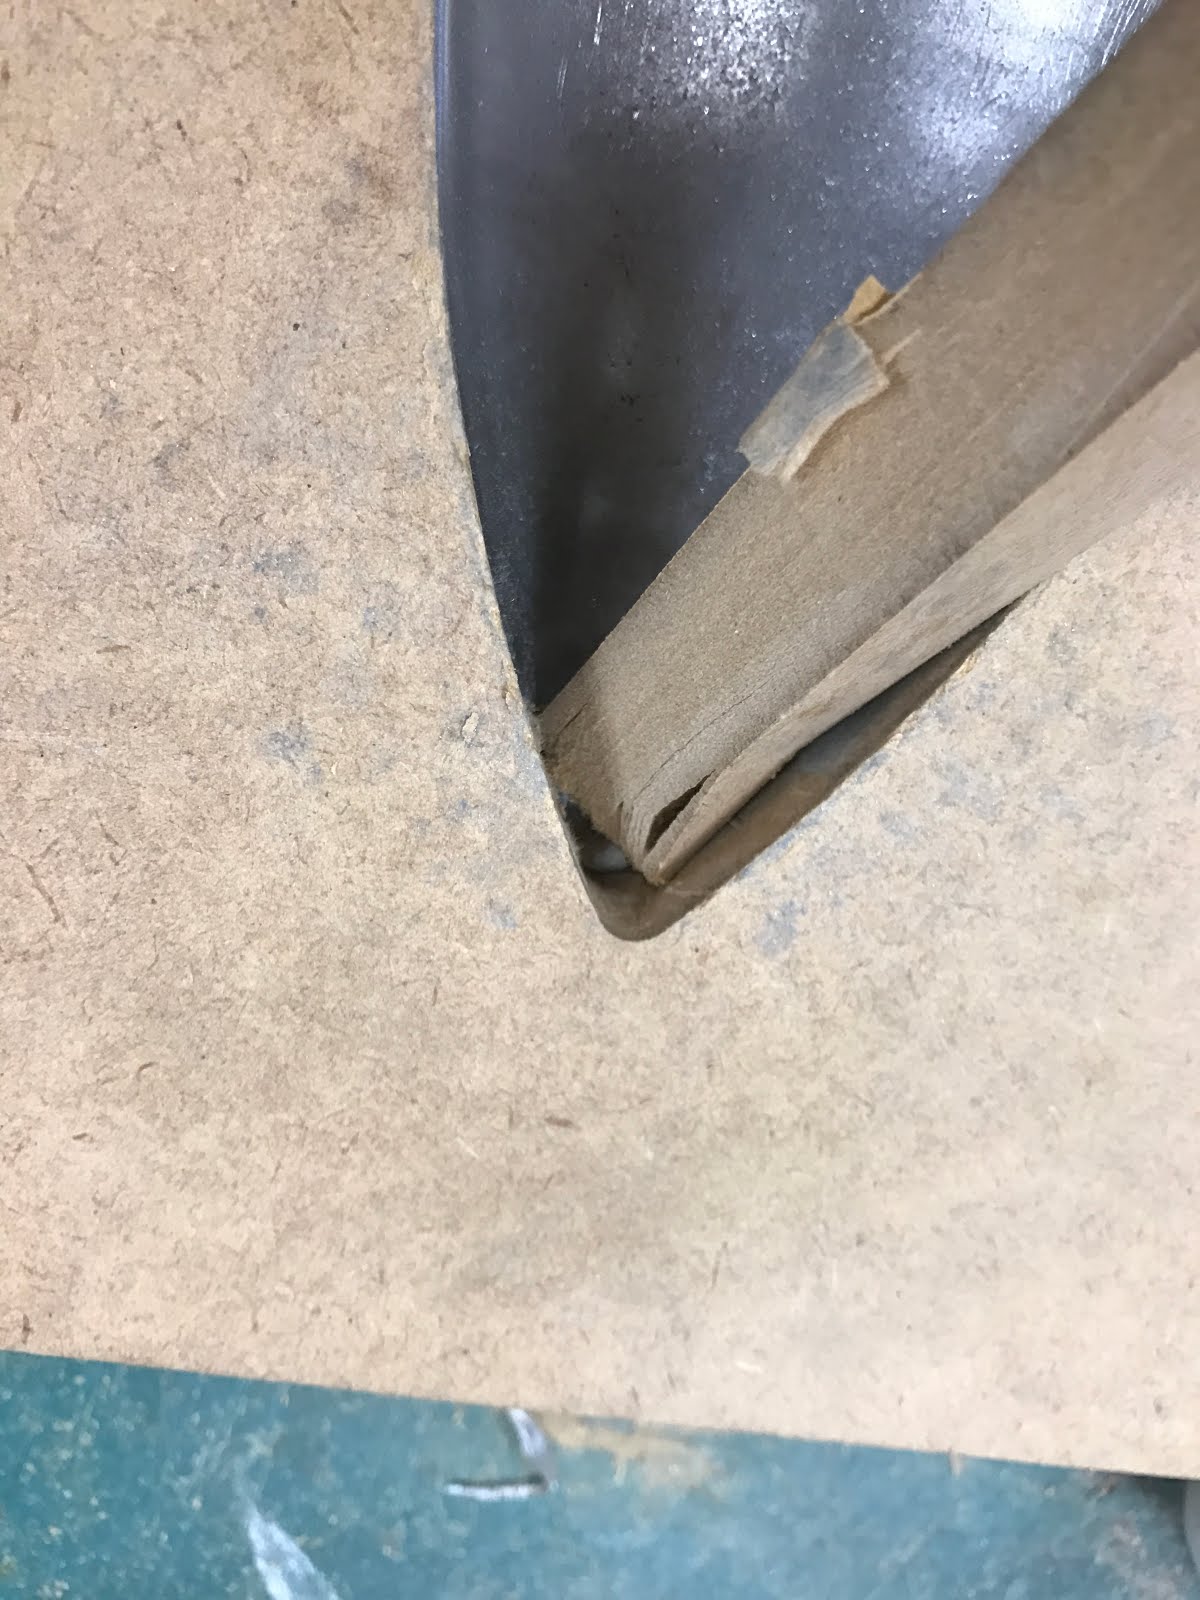
1. Create a sharp and tiny wooden stick that can fit on the top of the water drop shape
2. Adjust the stick at different angles to fit with the model
3. Hammer the aluminium with the stick
Using a small steel hammer can simply shrink the small angle, however, marks will be created.
Final piece

Reflection
This course has given me an unexpected experience, I never thought I would know the skills of shrinking an aluminium sheet into an art piece that can be used in the interior. This course has also encouraged me to think outside the box, taught me how to create an interior fixture by shrinking an aluminium sheet. It is a really interesting course!
 Architecture in water drop form
  A water drop exterior sculpture
  My aluminium water drop art piece
 Water drop interior decorations
 Water drop lights for interior
A range of architecture to interior fixture to emphasise the water drop shape.


