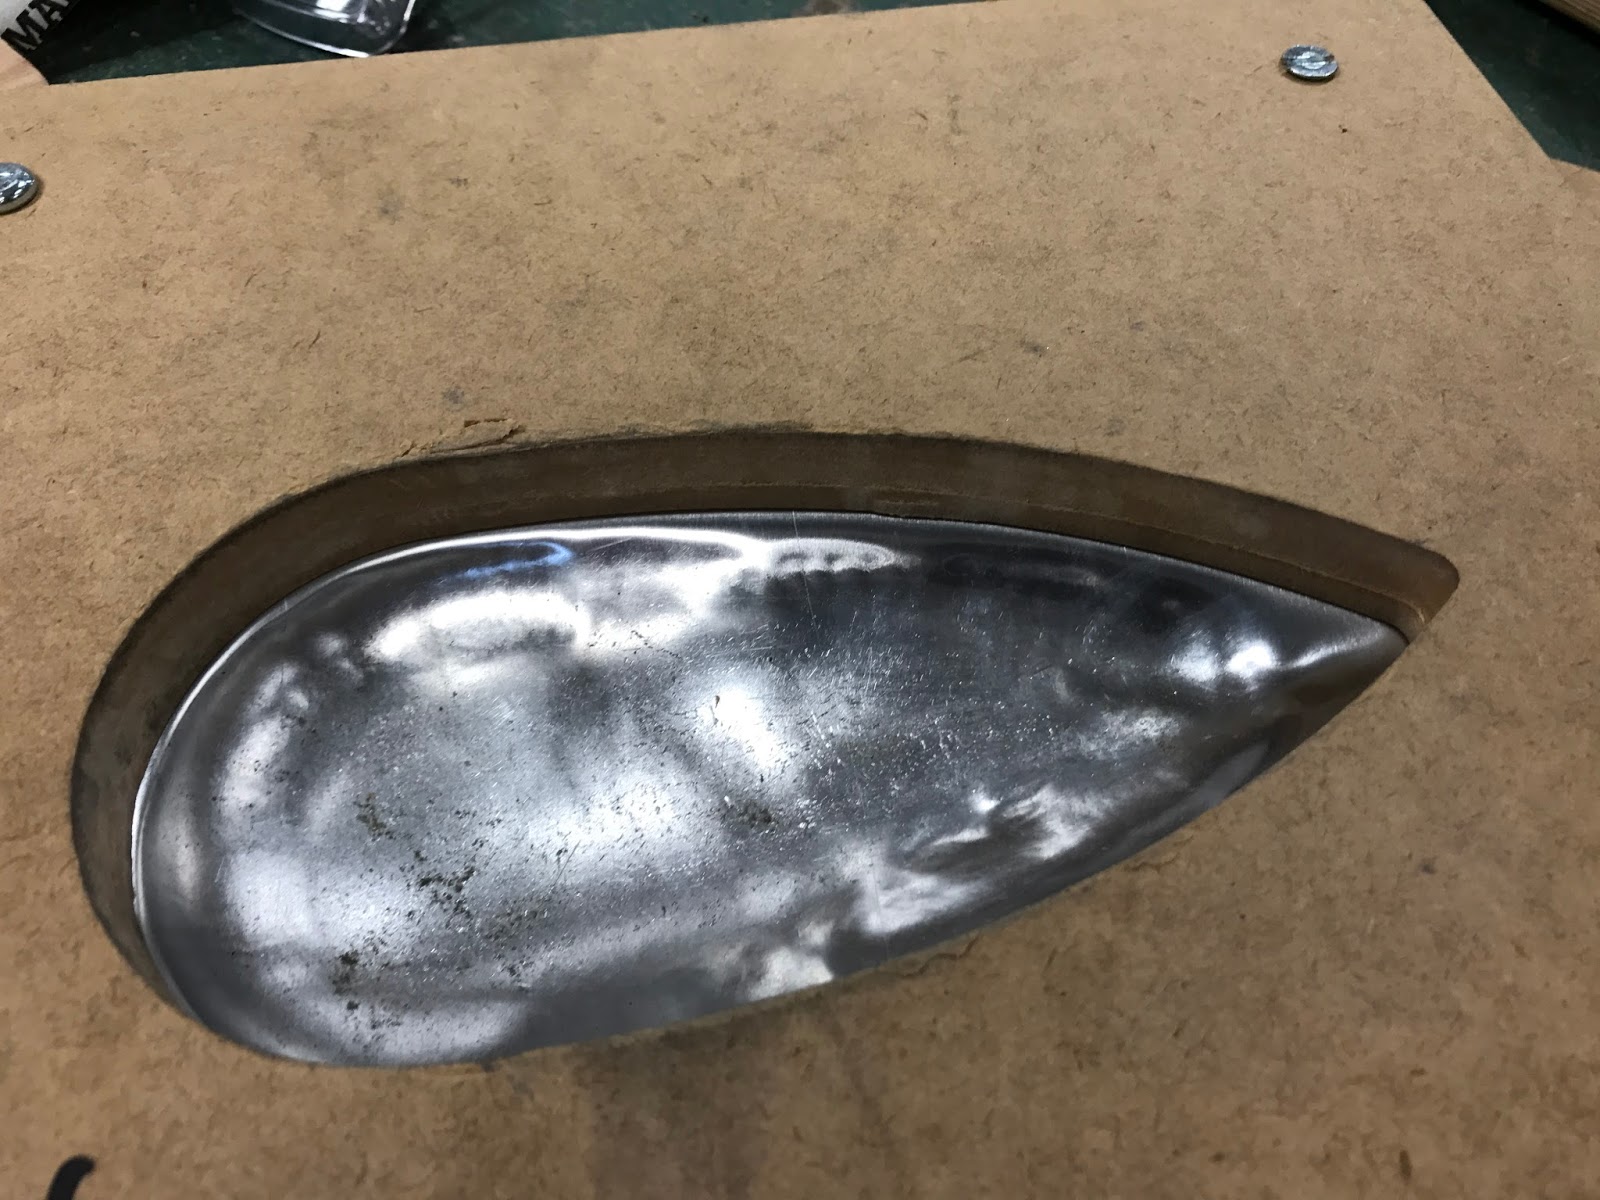
Wednesday 5 April 2017

Week 5


The Blister


From the bowl, to the torus, and then the tray, I have leant different skills in each task. In shaping the blister, the radius and flat end mallet are two of the tools that I mainly used.  The key difference between this and the pervious tasks is that we need to apply two plywood pieces on both sides of the aluminium sheet as to support the shape while shrinking.


By hitting a flat end mallet to the radius end mallet, it helps to shrink a nice and fine surface. However, as the width is getting closer to each other at the end of the blister, I could hardly place the mallet on the aluminium sheet. At the end, I figured that I could use a sharp plywood block to reach the end of the aluminium piece. As the surface is smaller, it is much harder to shrink.


Here are some images and a video of my finished blister. Overall, I think this is the most satisfy piece among all of the aluminium shape that I shrinked over the past few weeks. As the more I practice, the more techniques I get to learn and less mistakes to be made.


Match with partner's work:


Critical thinking- When looking at the section of this aluminium blister, I can only think of an avocado. Duplicating the blister I immediately recalled that it could be an installation of an interior space. Here is a section of that:


Week 4


The Tray


As we now have more experiences in shaping aluminium sheets, we were expected to produce a fine and smooth finish. The aim of this task was to produce a tray with around 10 millimeter edges on each side.


The above images show two of the tools that I mostly used in hammering the tray, they are the metal cutting tin snips on the left image and the ball-peen hammer on the right image.


To avoid creating stretch marks on the aluminium, I placed a timber block on each side of the sheet to prevent the aluminium piece from being directly hit by the ball-peen hammer. Using the round shape die helps forming round edges around the aluminium piece as shown in the above images.


Here is an image of my finished aluminium tray:


Match with partner's work:


Critical thinking- This aluminium piece can simply be used as a tray for baking, delivering food, storing accessories etc. However, what if I scale up the tray to a 1:1 scale table top?